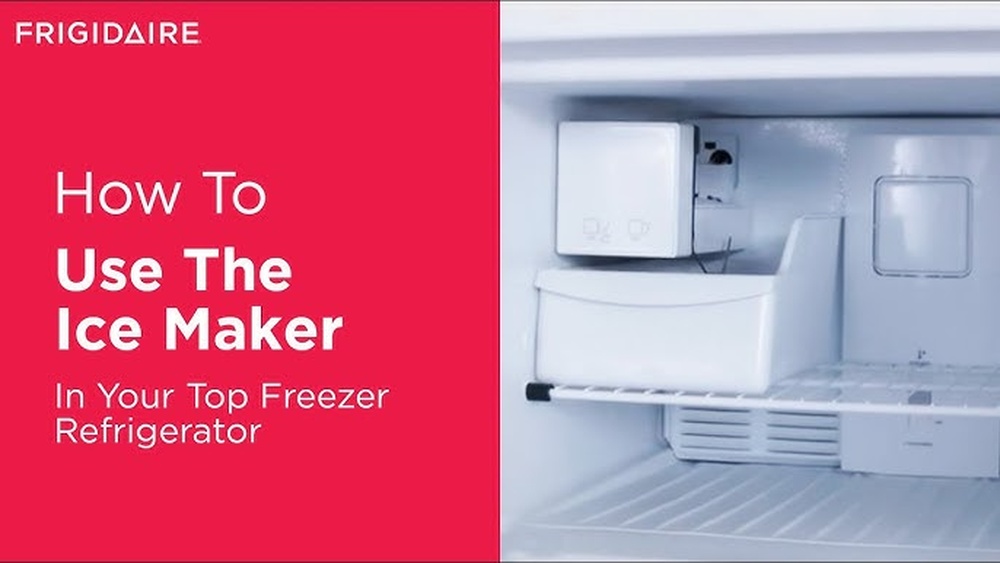
Have you ever opened your freezer, hoping for a quick batch of ice, only to find the ice maker confusing or tricky to use? You’re not alone.
Using the ice maker in your freezer doesn’t have to be complicated. With just a few simple steps, you can get fresh, perfect ice anytime you want. In this guide, you’ll discover easy tips that make the whole process smooth and hassle-free.
Keep reading, and you’ll never struggle with your freezer’s ice maker again.

Credit: lakeappliancerepair.com
Choosing The Right Ice Maker
Choosing the right ice maker can change how often you need to refill trays or run out of ice during gatherings. It’s not just about getting ice; it’s about convenience, speed, and the type of ice that suits your needs. Think about where you’ll place it and how much ice you really need each day.
Types Of Ice Makers
There are several types of ice makers available, each serving different purposes. Portable ice makers are great if you need ice quickly and want to move the machine around. Built-in freezer ice makers are perfect if you want a permanent solution that integrates seamlessly with your freezer.
Some models produce nugget ice, which is softer and chewier, while others produce traditional cube ice or crushed ice. What type of ice do you find yourself using most often? Knowing this helps narrow down your choices.
Key Features To Look For
Noise level can be a dealbreaker if your kitchen is open to your living space. Have you ever been annoyed by a loud ice maker while trying to enjoy a quiet evening? Choosing a quieter model can make a big difference.
Size And Capacity Considerations
Check the size of the ice maker to ensure it fits comfortably in your freezer or on your countertop. A large-capacity machine is useful if you entertain frequently, but it might be overkill for small households. How much space do you really have, and how much ice do you use daily?
Capacity is usually measured in pounds of ice produced per day and storage bin size. If you host big events, aim for a higher daily production and larger storage. Otherwise, a smaller, more compact unit will save space and energy.
Installing Your Ice Maker
Installing your ice maker correctly ensures it works well and lasts long. Follow simple steps to place, connect, and power your ice maker safely. Proper setup helps avoid leaks and electrical issues.
Placement In The Freezer
Choose a flat, stable spot inside the freezer for your ice maker. Avoid blocking vents or shelves that may interfere with ice production. Leave enough space around the unit for airflow and easy access.
Connecting To Water Supply
Attach the ice maker to a cold water line using a secure valve and tubing. Use a water filter if possible to keep ice clean and fresh. Check for leaks after connection and tighten any loose fittings.
Power Setup And Safety
Plug the ice maker into a grounded electrical outlet. Avoid using extension cords or adapters. Keep the power cord away from water sources and sharp edges. Turn off the ice maker before cleaning or repairs to prevent electric shock.
Operating The Ice Maker
Operating the ice maker in your freezer is simple and helps you get fresh ice anytime. Knowing the basic steps ensures smooth use and fewer problems. This section explains how to start the ice maker, adjust ice size, and use the control panel.
Starting The Ice Maker
First, check that the ice maker is connected to the water supply. Then, locate the ice maker switch or lever inside the freezer. Flip the switch or pull the lever to turn the ice maker on. You may hear water filling the ice tray. Wait a few hours for the first batch of ice cubes to freeze. Do not open the freezer door often during this time.
Adjusting Ice Cube Size
Some ice makers allow you to change the size of the ice cubes. Look for a dial or button near the ice maker. Turn the dial or press the button to select small, medium, or large cubes. Larger cubes take longer to freeze but last longer in drinks. Smaller cubes freeze faster and cool drinks quickly.
Using Control Panel Functions
The control panel helps manage ice production and other settings. Use it to start or stop ice making as needed. Some panels show alerts when the ice bin is full or water supply is low. You can also set the ice maker to make crushed or cubed ice. Follow the instructions on the panel for best results.
Maintaining Your Ice Maker
Maintaining your ice maker helps it work well and last longer. Clean parts stop bad smells and tastes. Regular care keeps ice fresh and clear. Follow simple steps to avoid problems.
Regular Cleaning Tips
Unplug the freezer before cleaning the ice maker. Remove the ice bin and empty all ice. Use warm water and mild soap to wash the bin. Wipe inside the ice maker with a soft cloth. Avoid strong chemicals that can damage parts. Clean at least once a month for best results.
Preventing Ice Build-up
Check the ice maker for ice clumps often. Remove ice build-up to keep the machine running smooth. Avoid opening the freezer door too long. Keep the freezer temperature steady to prevent excess ice. Use the ice maker regularly to stop ice from sticking.
Troubleshooting Common Issues
If the ice maker stops working, check the power supply first. Make sure the water line is connected and not frozen. Clear any blockages in the ice maker chute. Reset the ice maker by turning it off and on. Call a technician if problems continue after basic checks.
Maximizing Ice Quality
Good ice makes cold drinks taste better. Clear, fresh ice melts slower and feels nicer in your glass. Simple steps can improve the ice from your freezer’s ice maker. Focus on three key areas for the best ice quality.
Water Quality And Filtration
Clean water is the start of good ice. Tap water can have minerals and chemicals that change taste. Use filtered water to remove these impurities. A water filter can reduce chlorine and bad odors. This keeps ice clear and fresh. Change your water filter regularly to maintain quality.
Optimal Freezer Temperature
The freezer’s temperature affects ice clarity and hardness. Set your freezer between 0°F and 5°F (-18°C to -15°C). Too cold causes cloudy ice and cracks. Too warm makes ice soft and melts fast. Keep the temperature steady for the best results.
Storing Ice Properly
Ice can absorb smells from the freezer. Store ice in a clean, sealed container. Avoid leaving ice in the tray for too long. Use ice within a week for the freshest taste. Clean the ice bin regularly to stop odors and bacteria.

Credit: www.youtube.com

Credit: www.youtube.com
Frequently Asked Questions
How Do I Start Using The Ice Maker In My Freezer?
To start, connect the water supply line to your freezer’s ice maker. Turn on the ice maker switch. Wait 6-12 hours for the first batch of ice to form.
Why Is My Freezer Ice Maker Not Making Ice?
Common issues include no water supply, frozen water line, or a faulty ice maker. Check water connection and reset the ice maker if needed.
How Often Should I Clean My Freezer Ice Maker?
Clean your ice maker every 3-6 months to prevent mold and mineral build-up. Use warm water and mild detergent for cleaning.
Can I Use Any Water For The Ice Maker?
Use only clean, filtered, or potable water. Avoid using hard or contaminated water to prevent ice maker damage and poor ice quality.
Conclusion
Using your freezer’s ice maker is simple and saves time. Keep the water supply clean for fresh ice cubes. Regularly check and clean the ice bin to avoid odors. Adjust settings based on how much ice you need. Remember to close the freezer door tightly to keep ice frozen.
With these easy steps, you can enjoy ice anytime without hassle. Small care makes a big difference. Now, you are ready to use your ice maker with confidence.
